Readers new to vinyl LP cleaning might benefit from this quick photo essay.
Having just posted a capsule review of The Doobie Brothers- Toulouse Street on the site, I happened to notice another early copy in my “to be cleaned” pile. It was a cheap bin find from some record store in Texas that was shipped back to NY with several hundred other records of mine:
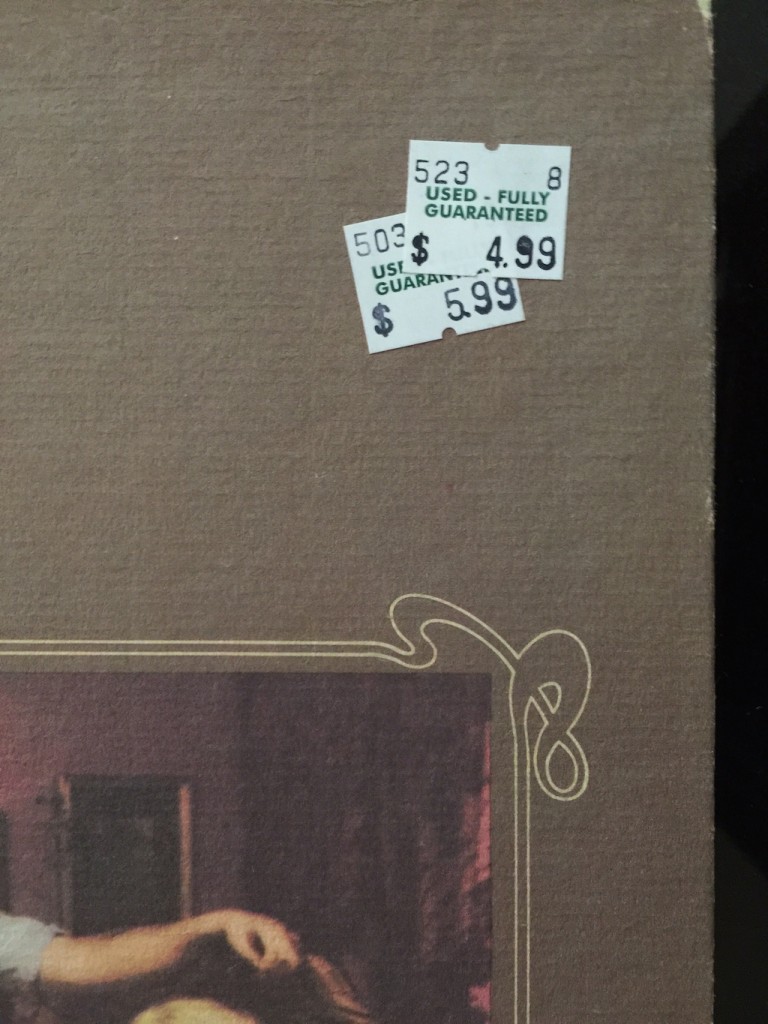
It looks like I paid $4.99 for this one and it is a pretty early pressing from the Columbia Santa Maria plant.
Under “normal” light, and in the kinds of photos you’ll often see on the web, it looked OK for a cheap record:
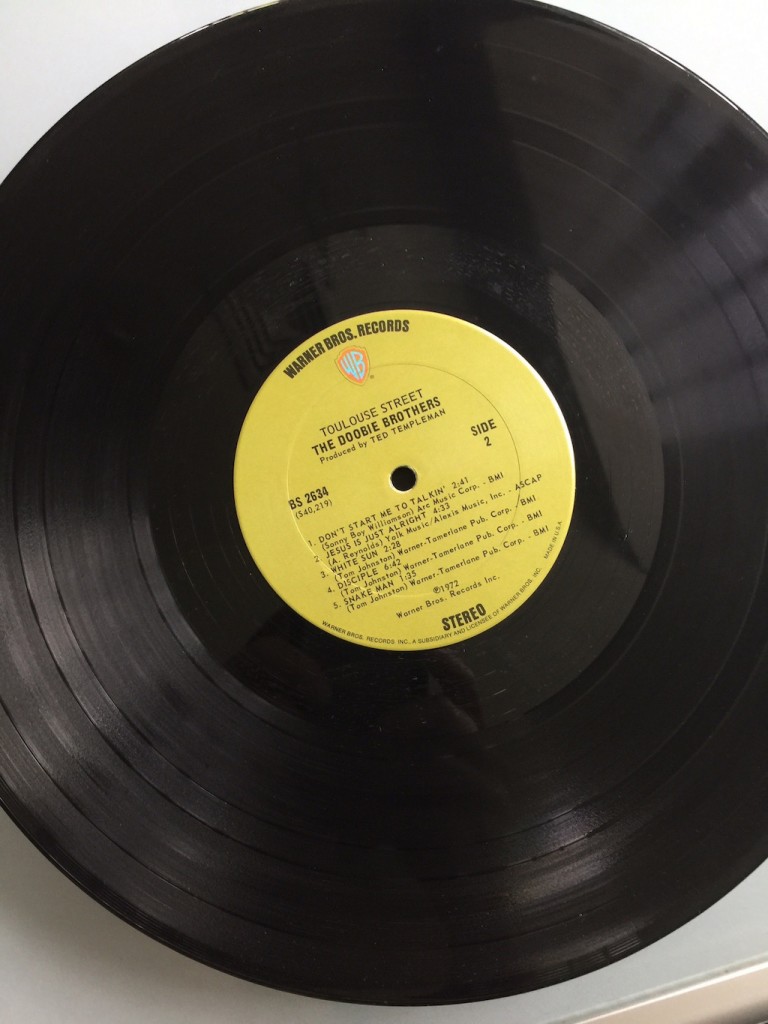 No deep scratches, or other visually obvious fatal flaws; frankly, I don’t remember how closely I inspected this record when I bought it.
Under a strong light, here’s what the record really looked like:
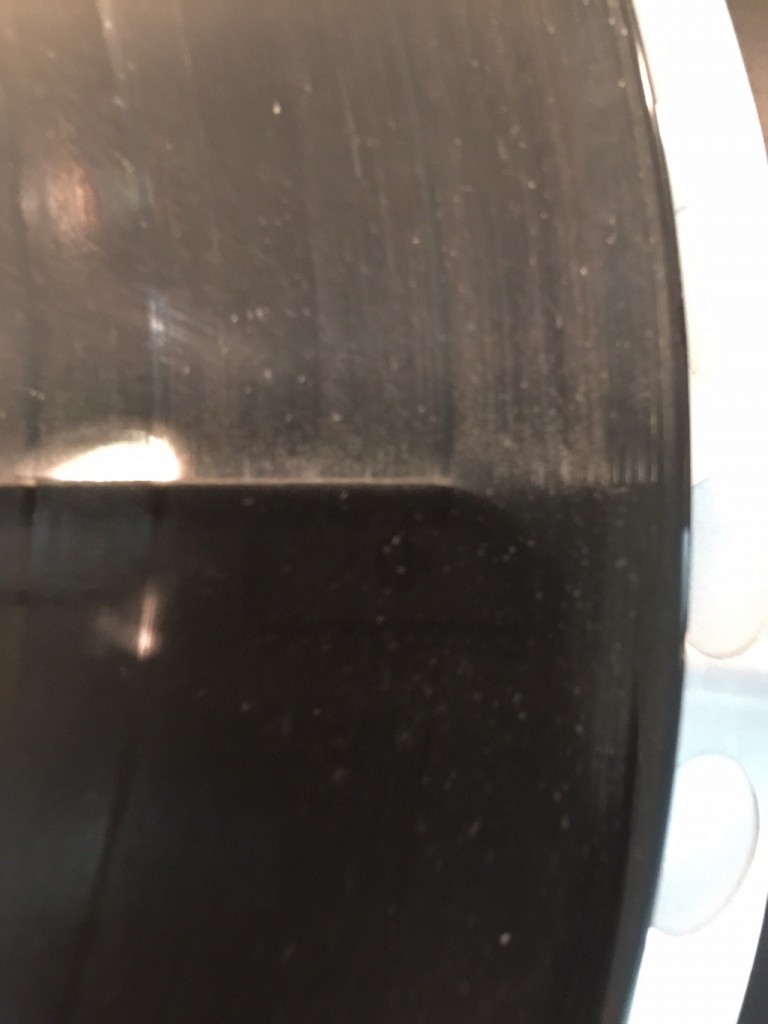
What you are seeing there is surface stuff that may or may not be embedded into the grooves, along with the kinds of scratches that are common on well-played older records (more in the nature of “scuffs” than what collectors refer to as ‘feelable’ scratches which are likely to affect play). But who knows, right? It certainly wasn’t pristine.
Looking at the deadwax, this is what bright light shows:
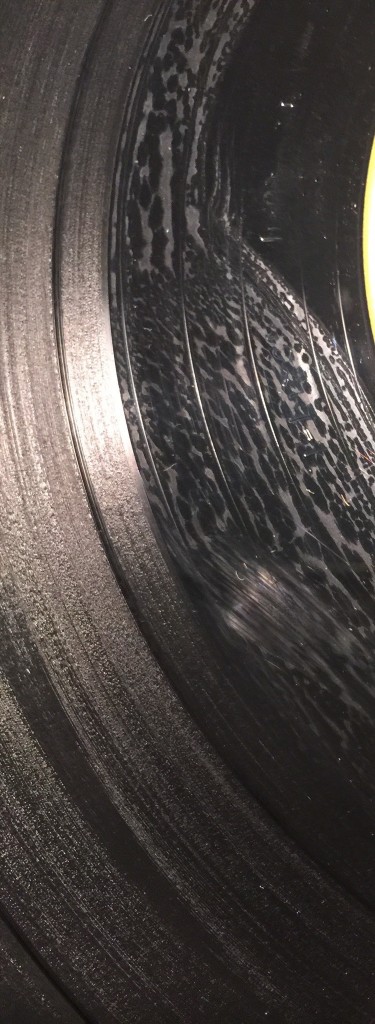 Water-spotting, dried onto the surface. Who knows what this is? Just water? Some cleaning agent? Something else? Rest assured, if that’s what the non-grooved area looked like, that stuff, whatever it is, was also clogging the grooves, along with who knows what else.
So, we clean the record. For the first side, I’m going to use a “big gun” machine, the Keith Monks. I don’t usually use the “automated” dispensing head on the Monks, but prefer to hand apply whatever fluid I’m using for the particular record:
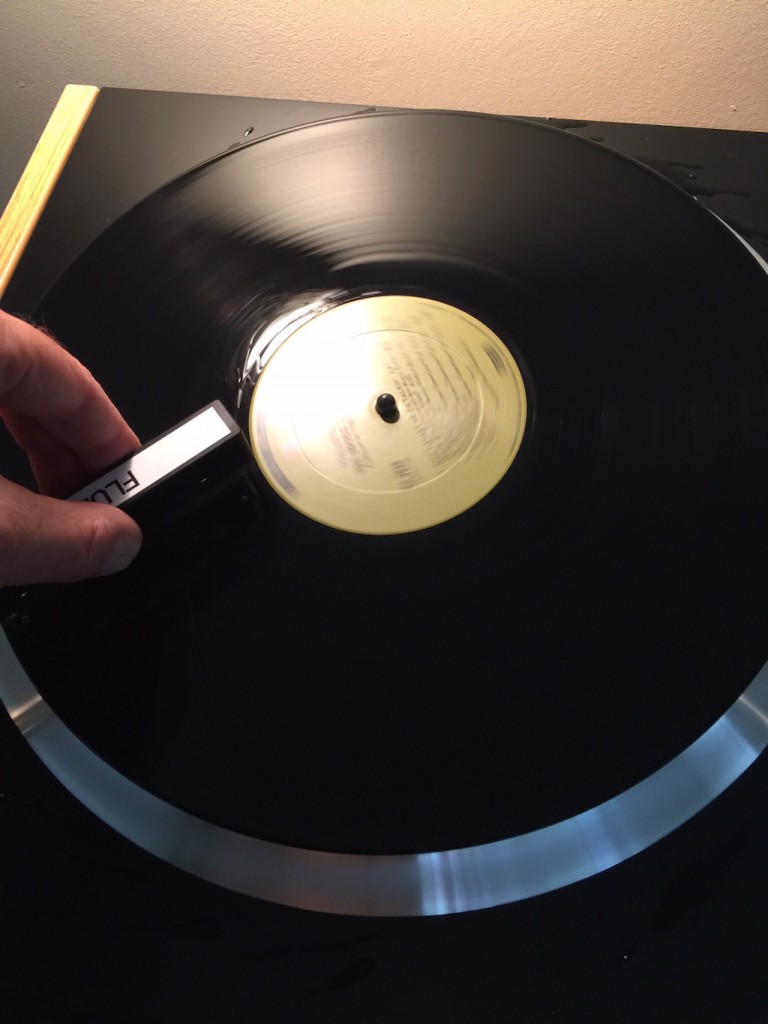
In this case, I’m using a fairly mild fluid from Hannl of Germany which is sold in concentrated form. I mix it with 2 liters of reagent water (highly purified ‘lab’ water). I like the Hannl on the Monks because it applies easily and works very effectively on all but the worst records (and by worst, it is often not what you see that’s the problem but the stuff that’s embedded into the grooves).
One nice thing about the Monks is that you can actually vacuum the deadwax, so after applying the fluid, I started the vacuum arm as close to the label as possible, having wetted that area too:
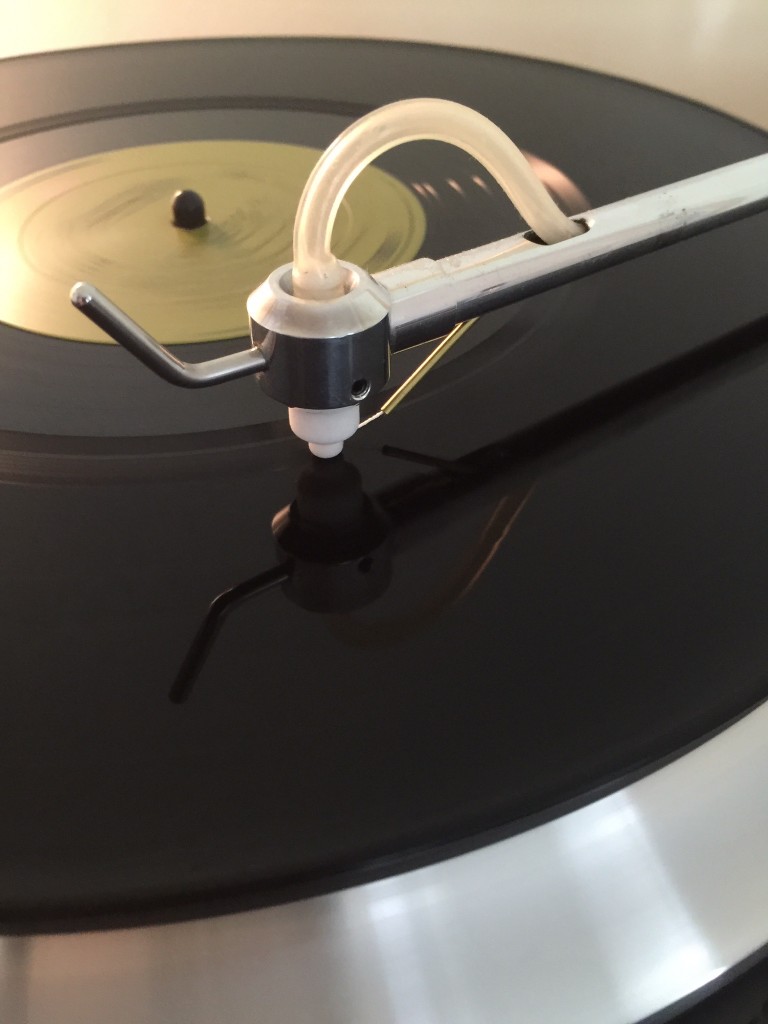 This is not so easy to do with other machines. Once the cleaning fluid has been vacuumed, I do another pass, using a separate brush to apply a lab water ‘rinse’ and then vacuum that off. Here’s what that side looks like now, in the non-grooved area:
I know the label is out of focus, but I’m aiming at the deadwax area- no more water spotting. (At least it looks much better).
I decided to do the other side on my old VPI. Here’s the set-up: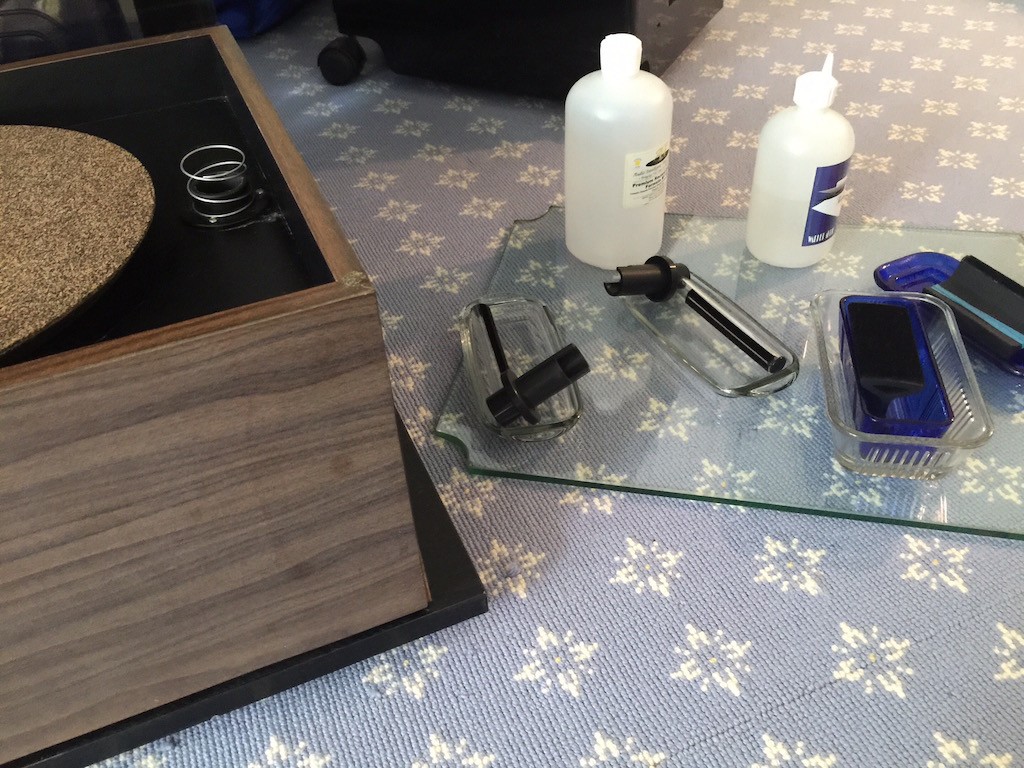 It is a positively ancient 16 that was upgraded to a 16.5 back in the early 1980’s. (The particle board seams are splitting on the case, the case work is stained -but the darn thing still works. I keep the “turntable area” of the machine very clean, and it has a plexi-style lid to keep out the dust). Note the multiple vacuum wands, mounted in arm ‘pillars’ so they can be quickly changed out; one is for fluid/cleaning, and the other for the ‘pure’ water rinse step. I use two applicators, one for each step too. Also note that I am using “audiophile approved” butter dishes, turned upside down; these enable me to rinse off the applicators with pure water, to keep them clean during a record washing session and the dishes give me a place to rest the applicators and vacuum wands. (I use a toothbrush to scrape the velvet lips on the vacuum wands).
So, we now clean the other side of the record using this very basic VPI machine that has cleaned miles of grooves over the course of more than three decades:
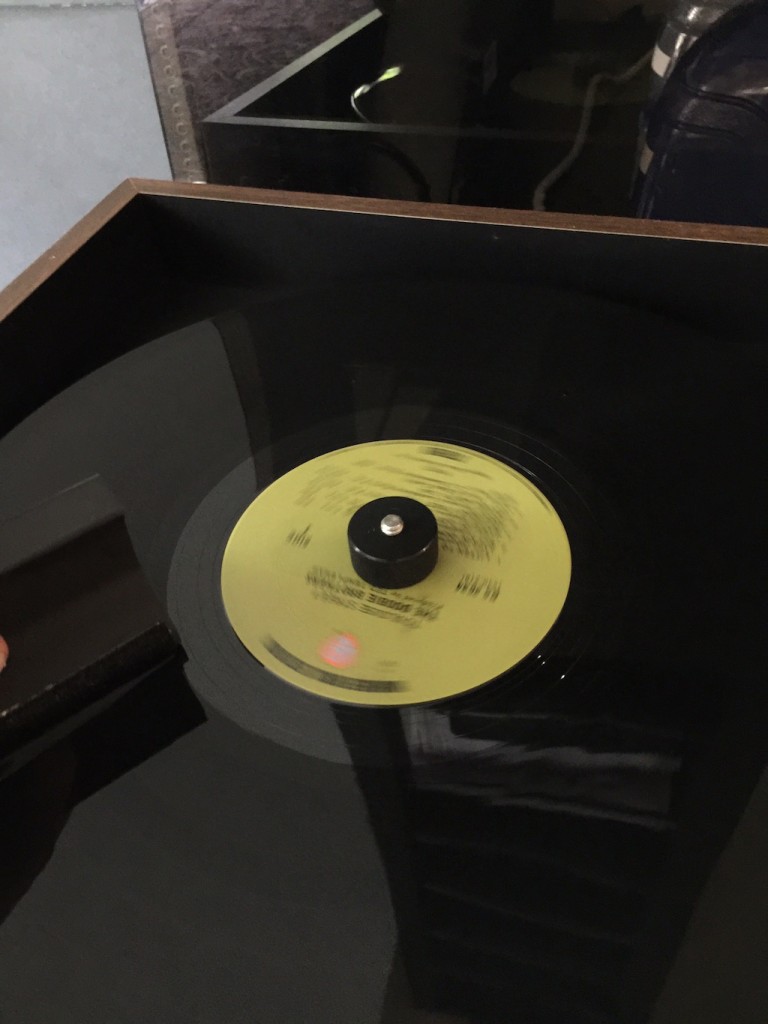 Wash step, applying AIVS No. 15, which is an enzyme-based cleaner. You apply, agitate and let sit. I shut the VPI motor off while the fluid is doing its thing. It can be a minute or two, or much longer, depending on how nasty the record is. I usually turn the motor back on, add a little more fluid, and agitate some more. Then vacuum:
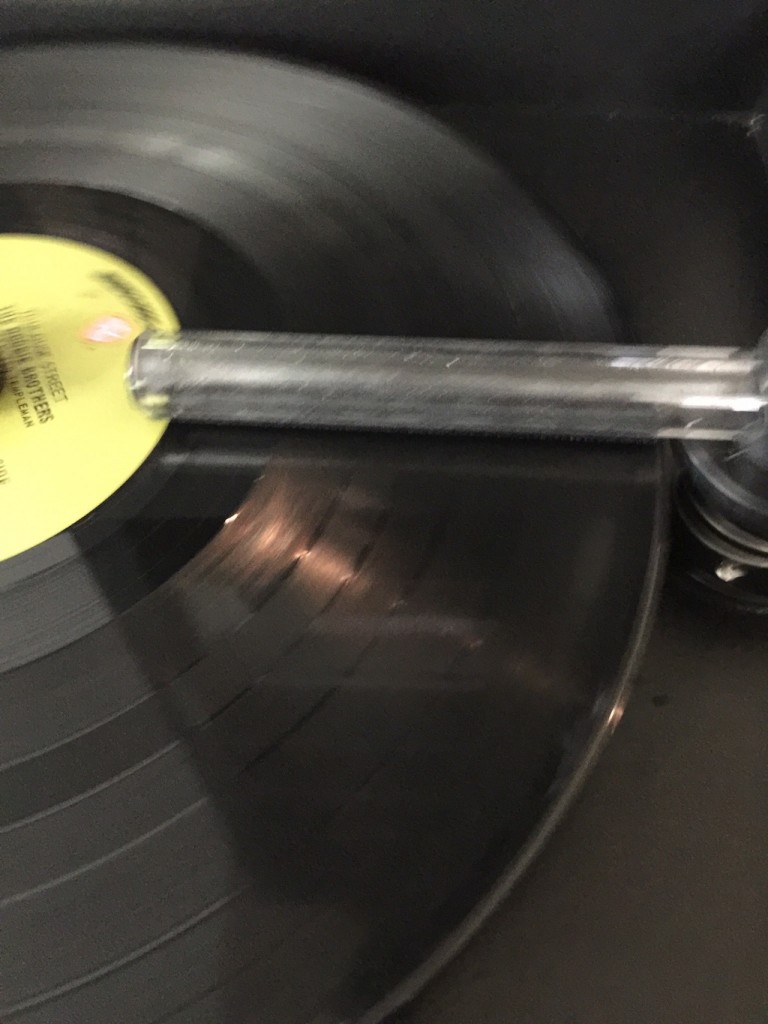 A couple of revolutions- if you “over-vacuum,” you can create a static charge.
Then, the rinse step, using a separate applicator:
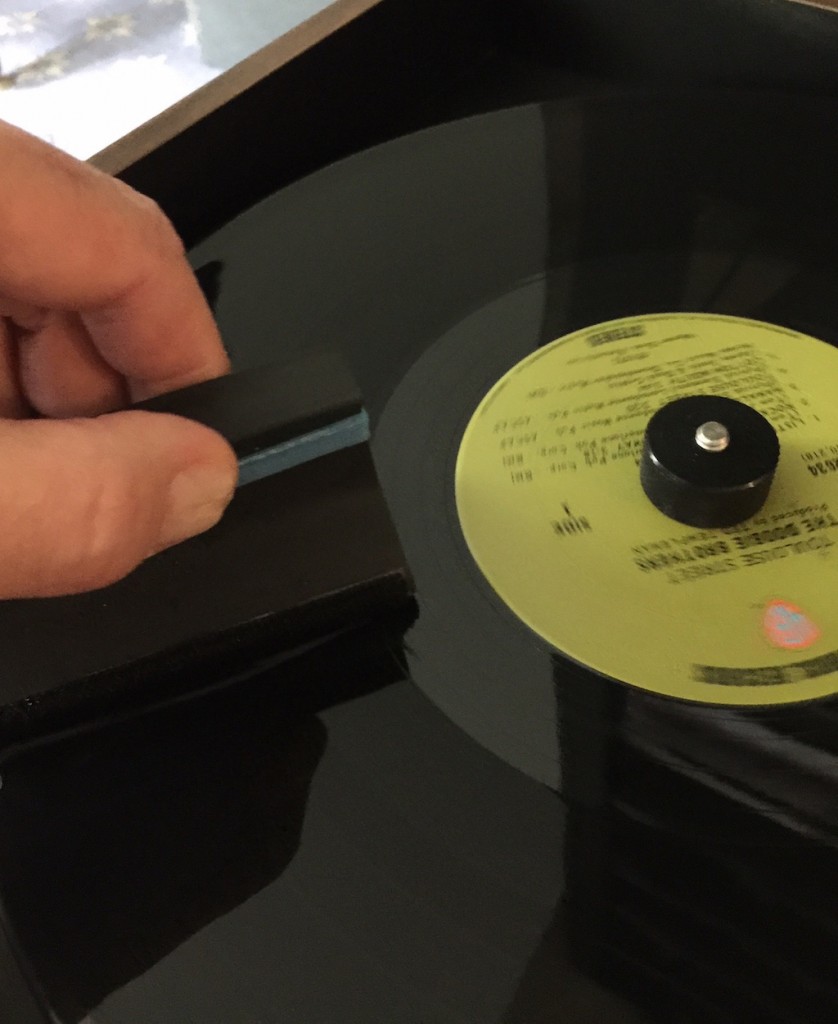 Note the blue “rubber band” around the handle- that’s my high-tech way of marking the applicator as the “rinse” applicator. I do the same thing for the rinse vacuum wand pillar, which switches out in no time from the fluid/cleaner/vacuum wand-pillar:
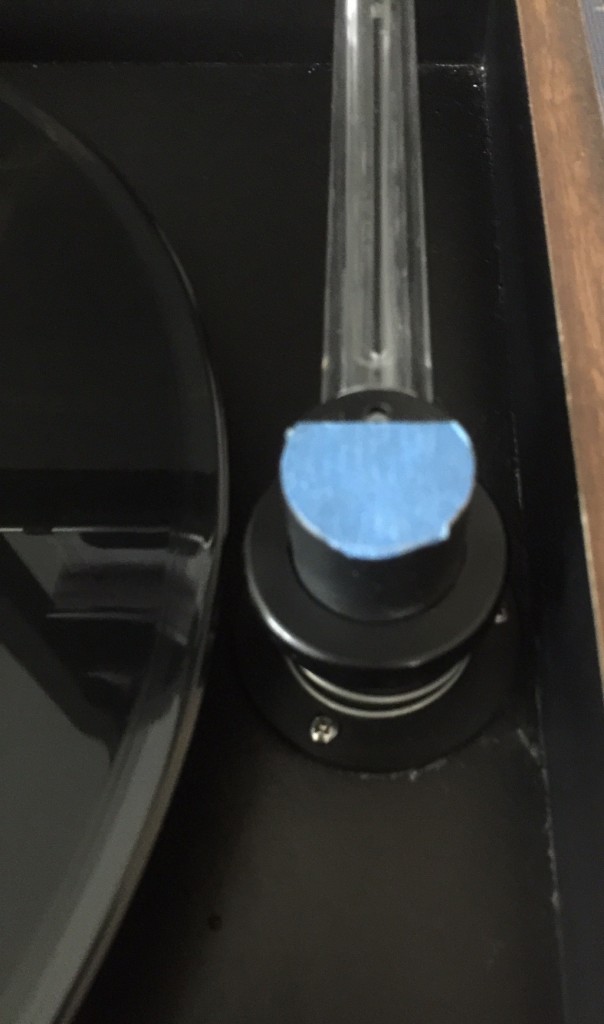
A few vacuum cycles to remove the ‘rinse’ water, and we’re basically done. So, we’ve cleaned this cheap, but potentially great sounding record using two different methods- one, using a very high-end record cleaning machine, and the other side, using a pretty basic, and old, vacuum machine. The real test, of course, is how it sounds. So, I’ll fire it up:
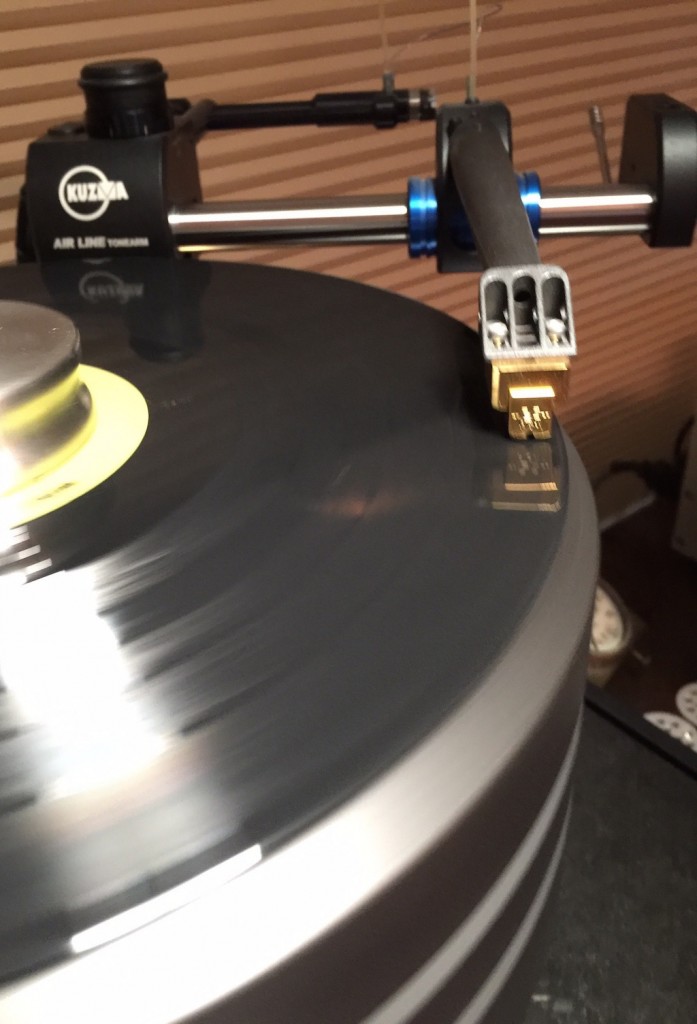
So, how does it sound? Pretty great! It may actually be a better sounding copy than the one I reviewed elsewhere on the site. Was there any noticeable sonic difference between the side cleaned with the uber Monks machine and the old VPI? Not a pronounced difference, in this case. Am I suggesting that the machines are equal in their cleaning ability? Not exactly. For some of the reasons explained in greater detail in one of my earlier pieces on cleaning, the Monks can really pull stuff out of the grooves and its design minimizes cross-contamination from the cleaning machine to the record. I also didn’t do the additional ultrasonic cleaning that is a usual step in my cleaning regime, just to keep the playing field level. My aim wasn’t so much to compare the Monks to the VPI, but instead, to show that even with a basic vacuum machine, you can get a lot of the crud off a record pretty effectively, at a relatively modest cost. (Thus, adding an ultrasonic step would defeat the purpose of this illustration). And, the record still isn’t perfect looking- it has those scuffs, which cleaning won’t remove, and there is some apparent discoloration of the vinyl on one side.
The one thing I did not do is play the uncleaned record to compare it against the result of cleaning; mainly because I didn’t want to subject my stylus/cartridge to totally unknown terrain. (In fairness, I’ve also had records that underwent very intense multi-step cleaning that I pulled off the table immediately because it was clear that they were damaged, and no amount of cleaning was going to salvage them).
I’m not offering this as “scientific proof” of anything, but instead, a quick anecdotal essay on the merits of cleaning records, with some visuals to help the uninitiated. If you are mining the field for older pressings, you’ll eventually have to come to grips with record cleaning at some point. And if there is any moral to the story, it’s this: you don’t have to spend a fortune to do it effectively.
N.B. The now cleaned record goes into a fresh inner sleeve; the original inner, if it has any artifact value (and it may if it is an older record) gets stored separately with the record and any other paper goods, posters, or associated memorabilia that originally accompanied the record. In a later piece, I can walk through some of the steps I use to package and store records, as well as my quick way of tagging various pressings to quickly identify them.
Bill Hart
July 6, 2015