Warps, Budget Ultrasonic Cleaning and Surface Dust: An Introduction
I buy a lot of used records and encounter some “challenged” copies in the process. This is hardly deliberate but comes with the territory: sometimes, the records are purchased in “lots” or more often, over the Internet, where physical inspection is impractical if not impossible. Even new, sealed records have problems. (Older “sealed” records can be the riskiest in my estimation- a complete unknown and if too tightly shrink-wrapped, are prone to warps over time). But, through a combination of techniques, I’ve managed to get a number of these “problem” records to a high playing standard. This is an interim report, more of an introduction to how I address and ameliorate some of these problems, which will be the subject of several in-depth articles that follow.
Warps
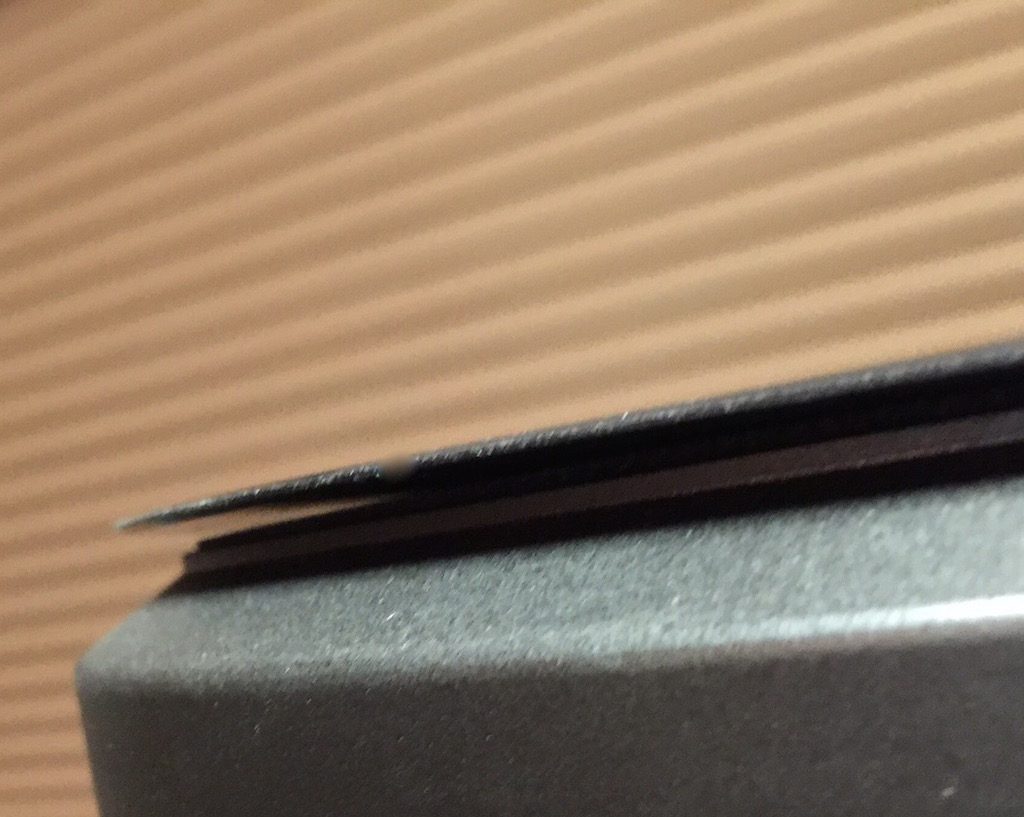
Unless you have an exotic turntable with vacuum hold down, or use a periphery clamp (of the type that VPI offers for its turntables), warps can be a mild nuisance or a nightmare, rendering a record unplayable. Manufacturing problems may cause some, but I suspect poor handling and storage cause many warps. (The problem is not confined to old records either). In the past, I just didn’t play badly warped records and tried to replace them. But as some pressings have gotten more valuable, “just buy another copy” is not always a solution. Even for new-ish records.
Three or four years ago, I ordered a copy of The Cloud Atlas Sextet, a limited edition record that played a role in the film. It probably cost around $40 with shipping. By the time my copy arrived from Europe, the edition (and limited second pressing) had already sold out. My copy was warped as a potato chip and totally unplayable. I could have returned it for a refund, but didn’t because there was no replacement available. Instead, I put it under pressure on a record shelf and tried to forget about it. But, there was something compelling about the piano parts that got under my skin and I wanted to be able to play this thing. Storing it under pressure for a year didn’t improve it (my expectations in that regard were pretty low). In the meantime, new old stock copies of this now out of print record were starting to fetch upwards of $350-500 on the Net—with no assurance that they wouldn’t suffer the same problem. (One copy listed at the time of this writing is now asking over $1,500). Perhaps another copy will fall into my lap but, in the meantime, I have a highly desirable (at least to me) record that I couldn’t play.
The issue also arises for a lot of records pressed in the ‘90s- when the medium was at its nadir. Very few copies of some albums were pressed on vinyl LP—the demand wasn’t there at the time. Unless reissued (sometimes questionably), some of these now fetch big money. Reissues may not be high quality, and there seem to be so-called “unofficial” releases floating around- probably unauthorized “needle drops” from a CD badly pressed onto vinyl by mystery pressing facilities overseas. Aside from the ethical issues of buying a “pirated” copy of a record, these things typically don’t sound very good and usually suffer from all sorts of manufacturing maladies- issues that also plague legitimate reissues- including non-fill or stitching, where the groove walls are badly formed during the pressing process and create a constant ticking or “wooshing” sound that I can’t tolerate. So, you wait for a proper reissue, pay the tariff for the earlier legitimate pressing at some cost (and the risk that it too may have issues) or try to ameliorate the warp(s) on a copy you have.
These are only isolated examples. Some of my US pressings from the mid-70s are ugly- nasty surfaces, sometimes with paper pulped into the reground vinyl. They usually play OK, despite dimples, the odd paper fleck and mild warps. But some are warped, sometimes to a significant degree.[1] Some of the Classic Records remasters, particularly during the initial transition to the 200 gram “flat profile,” suffered from dish warps, in addition to non-fill and stitching. (This is why out of print vendors often tout the 180gram Classics, though by the time the company was issuing records on Clarity vinyl, many of these problems seem to have disappeared in my experience).
I’m not going to try to convince you that you have warped records- you do- it’s just a question of degree. If the thing plays ok, and doesn’t give you concern watching it spin on the turntable—those speed bump type edge warps can be the scariest- I wouldn’t mess with it. But, if the warp is interfering with play, or makes you worried for the life of a fancy cartridge, you may want to consider flattening.
Record flattening equipment has been around for a while—the machines made by Orb in Japan (and branded by Airtight and Furutech in the States) were very expensive and didn’t seem to make economic sense for most people when they were introduced. For the well heeled collector, perhaps or an archive, hi-fi club or record cleaning/ flattening service, but most people, even those willing to pay big bucks for gear or collectible records, seemed shied away from the idea of buying an expensive flattening machine. I know I did. “Just buy another copy” seemed to be a sensible answer, at least until the cost of some pressings skyrocketed. There were a lot of “old school” methods that involved glass sheets, sunlight or ovens, none of which seemed particularly appealing.

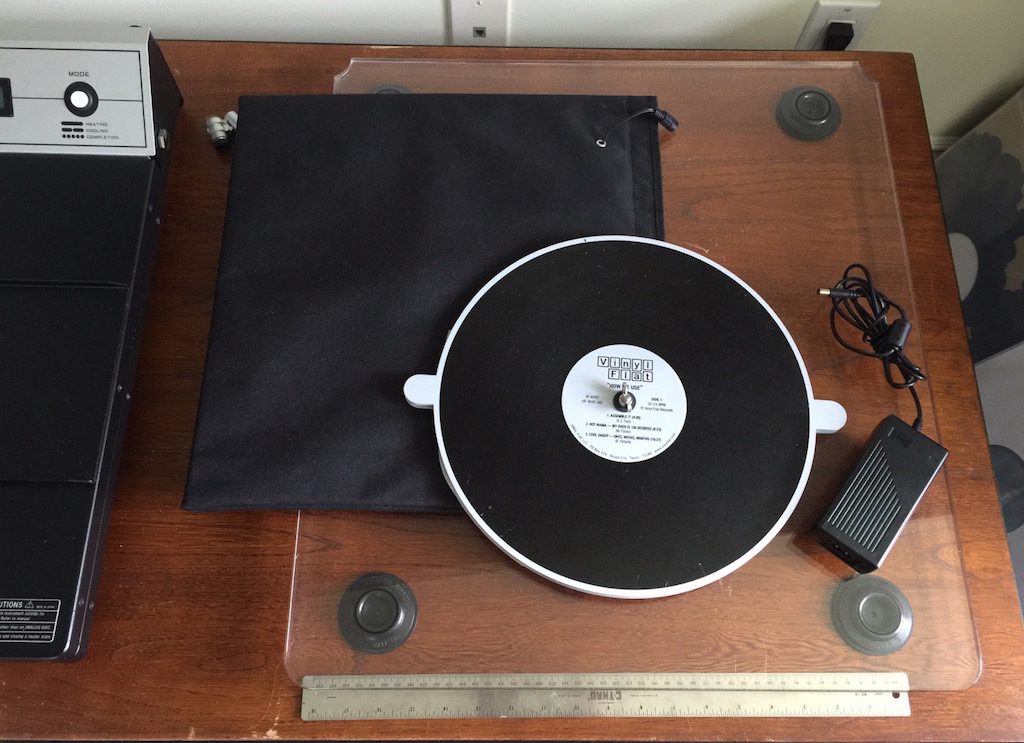
Several years ago, a relatively inexpensive tool surfaced: the Vinyl Flat, which, accompanied by an accessory “Groovy Pouch” (to heat the record in a controlled fashion, rather than place it in an oven) seemed worth the price of experimentation. (There is an extensive thread on the Hoffman board about peoples’ experience in using the device—generally positive, but lots of suggestions for tweaks, changes in recommended heating cycles and repeated cycles of heat and cool down).
I bought a Vinyl Flat and Groovy Pouch, and have been experimenting with it, off and on, for a while. It is a time consuming process if you do it conservatively, but I have had some success with it. The manufacturer—a nice fellow who you can get on the phone to talk about tricks and tips—seems to be making ongoing improvements to the device and its ancillaries, so there’s very little downside if you are careful. It does take time, though.

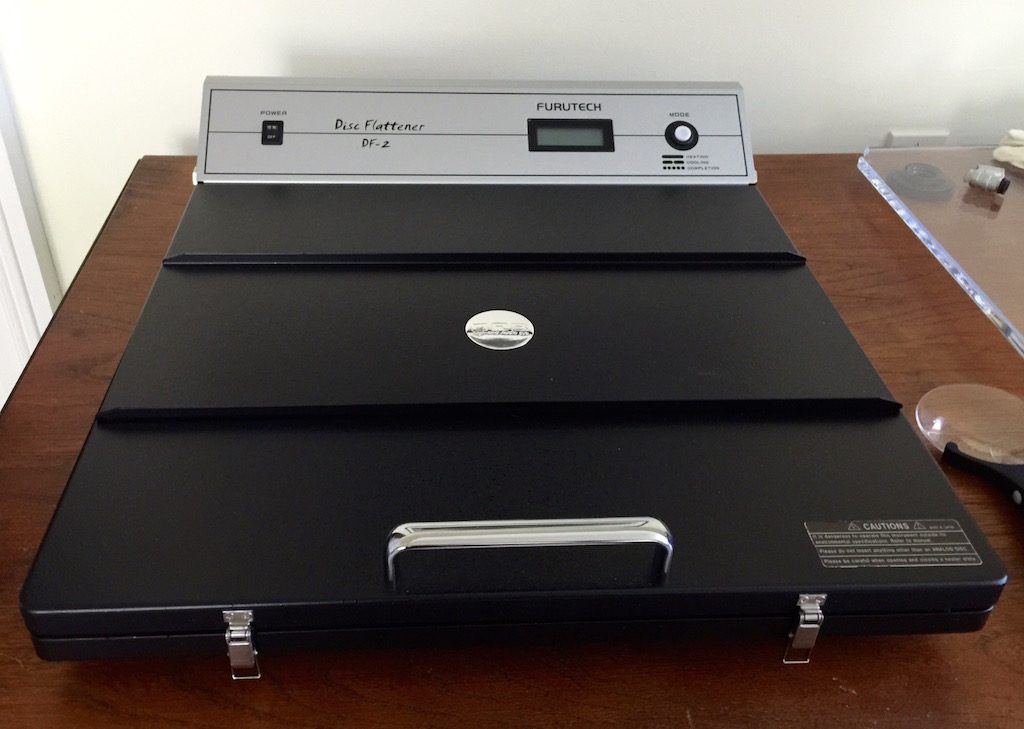
I also bit the bullet and bought a Furutech-badged Orb—the DF 2—which is a substantial, fairly expensive piece of gear that automates the process and applies heat only to the rim and center of the record. I’ve been having some success with that device too. A number of profoundly warped records were corrected with a single cycle of heat and cooling. (Interestingly, Furutech’s manual advises that repeated cycles will not improve things if the record isn’t “corrected” the first time—something that is contrary to the experience of some who have used the smaller DF-1, where repeated “flattening sessions” improved a record over time). There is also a list of “taboo” records- I haven’t tried any so far (having visions of melted plastic, like lava, flowing over the edges of my fancy machine).
Record flattening is a “dark art.” You want to avoid causing further damage to the record in the process of trying to flatten it. Older, long warped records seem to be more problematic, due to vinyl “memory” and even getting a record flat is no assurance that it will play, or play well. The warps may have altered the groove path so that flattening doesn’t restore that path, it just changes it, and sometimes it doesn’t make any improvement in playability. There also may be additional manufacturing defects, in addition to the warp, that render even a flattened record unplayable for other reasons.
I was originally wary of applying heat to a record, but if it is already a lost cause, what’s the downside? It took me a while to get to this stage and it’s a road you may or may not want to travel, but it is worth exploring, particularly where replacement copies aren’t a practical alternative.
Look for a full on piece dedicated to record flattening – not so much a review of equipment but an exploration of methods, tricks and techniques in an upcoming article here.
Cleaning, Dust and Static
We have explored various methods of record cleaning in previous articles. (See the “Cleaning-Care” category on the home page for collected articles on the subject). Though I can get a record very clean using a basic VPI “wand” type vacuum machine (using the two wand approach described here), I’ve often obtained best results by combining vacuum and ultrasonic, sometimes reversing the sequence by washing a (pre-cleaned) record ultrasonically, but drying it with a point nozzle machine, a process which I described in some detail in the My Personal Odyssey piece last year.
Many audiophiles have bought into ultrasonic cleaning, not only for effectiveness, but also for convenience. I know I was pretty happy when I got my first ultrasonic record cleaner- an Audio Desk, and could just plop a record into the thing and walk away. Painless. Except for the price, which is a constant quibble for those who don’t want to throw thousands of dollars at a record-cleaning machine.[2] So, this is about effectiveness, not just in results, but cost.
The two most widely available commercial ultrasonic machines designed for records are fairly expensive. And, they are not really designed for “wash” only if you want to point nozzle vacuum the record dry.[3]
There is the V-8, a less expensive commercial ultrasonic born of the DIY camp that does permit ultrasonic wash only (though the manufacturer now offers a separate forced air drying “cube” which performs a function similar to the drying processes of the KL and Audio Desk). But this led me to consider the benefits of truly DIY ultrasonic—potentially even lower cost, a range of ultrasonic baths which offer different frequencies and heat control (that change the cavitation process) along with other features, at a variety of price points. Using a medical/industrial ultrasonic bath requires only some modest accessories to convert the unit to record cleaning use– like a rotisserie to hold and rotate the records in the bath. Even those are now available in the market for the less ambitious DIY’er.
Much as I love the convenience and the performance of ultrasonic record cleaning, they can’t do everything: particularly with older, used records, you may need to combine an ultrasonic with other, more conventional cleaning methods. Some pre-wash records manually, or use a basic RCM like the VPI, then pop the record into the ultrasonic. I prefer the point nozzle vacuum machines (Monks, Loricraft) because they don’t create static (thus, I can use the vacuum pre- and post ultrasonic) and seem to do a more effective job than wand-type vaccum machines, albeit at a price. However, there is at least one lower cost point nozzle machine that is coming to market and used machines are always an alternative. We will be exploring these methods, and the associated devices, in some depth in a future installment- ultrasonic cleaning on a budget.
Surface Dust and Static
Dust is an invariable part of life. If you darken your listening area, take a flashlight (or torch for my UK friends) and have a look at the area around your turntable, you’ll probably see a light coating of dust everywhere; “dusting” just seems to push it around, churn it up into the air where it floats and settles down again on surfaces.[4] Some inner sleeves also shed—the better ones minimize this. Your turntable also creates a vortex action that attracts dust. If you live in a climate with central heating during the winter, the relative humidity can be reduced, increasing the likelihood of static; static attracts dust, as does the friction from sleeving or unsleeving a record. (And you are a culprit-your body is charged, but unless you are going to go to extreme lengths to try to “ground” yourself—see the character in Better Call Saul as an example[5]—even a clean record attracts dust). What to do?
The conventional wisdom involves use of an anti-static brush and possibly, an anti-static gun, such as a Zerostat. But, I’ve been using various brushes and anti-static devices for years with mixed success. Sometimes, the brushes seem to cause more static. And the static guns aren’t the easiest thing to use- you are imparting a charge to counter the charge already on the record. (If you want a really effective “machine” to do this, you could just buy an industrial bench top ionizer of the type used in electronics/chip manufacturing; they are available used on E-bay and even new, can be are cheaper than some of the audiophile “approved” models).
Cheap Trick
Perhaps I’m just inept, but I find the brushes can actually cause more static, and often just “push” the dust around, rather than removing it. “Scooping” the brush doesn’t seem to do the trick, and pushing the brush sideways to drag the surface lint across the surface of the record doesn’t seem like the best way either. I’ve tried various tricks, including reverse charging the brush with an anti-static gun.
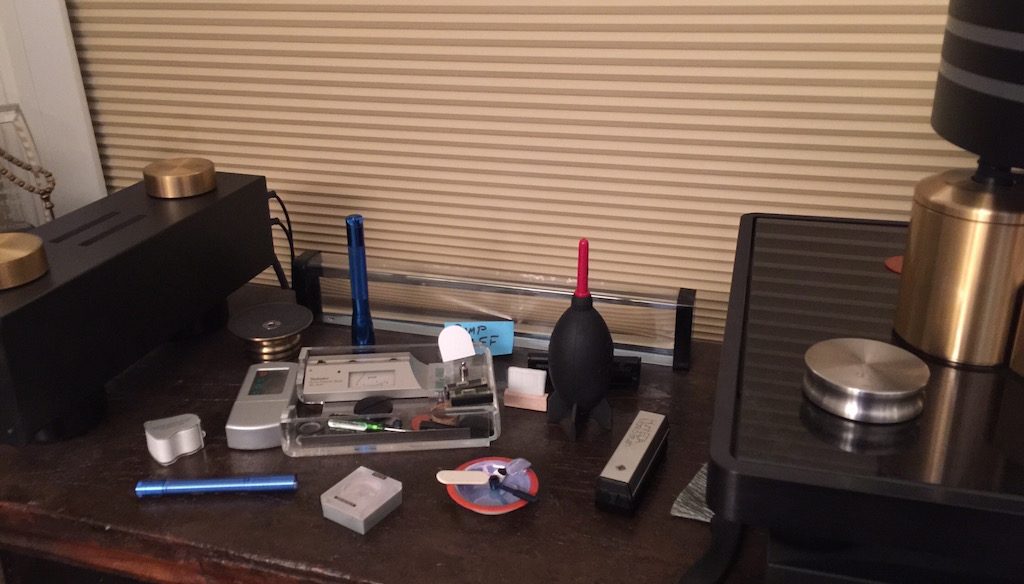
I’ve found an even cheaper, easier way to “dust” otherwise clean records that doesn’t add static and is pretty effective. It’s hardly a secret—it is the Giottos Rocket Blaster (or any other large air “puffer” used for camera lenses and other equipment). You need the large size to develop enough “thrust” but it does a nice job of blowing off most of the surface detritus from an already cleaned record. (And if you use both hands on the bulb, you can really give it a “blast”). No static, no brushing.[6] It doesn’t address the static problem directly (a subject we will grapple with elsewhere), but it doesn’t create additional static as some brushes can do. You can use the “puffer” in combination with the brushes and anti-static gun to develop your own technique but I find the Rocket Blaster to be a life-saver.

More soon on all these fronts,
Bill Hart
April 27, 2016
__________________________________
[1] As suggested in an earlier primer on buying used records, this is one thing to ask the seller of any expensive used record: how does it look when spinning on a turntable? Play testing helps too, though some sellers are not prepared to do that. See Buying Used Records: A Primer.
[2] Given the number of records here, and my somewhat OCD nature, I eventually went the full distance and bought both ultrasonics –the Audio Desk as well as the KL, along with a big Monks “Omni.” Needless to say, that is a substantial outlay, and one that is probably not sensible for most audiophiles and record collectors.
[3] Although later KL models allow you to “zero out” the drying cycle entirely, the manufacturer discourages removal of a wet record from the unit, because water droplets can apparently make their way into the electronics of the thing and fry them. According to Robert Stein at The Cable Company, the US distributor for Audio Desk, it is not a good idea to interrupt its wash cycle but Stein did say that once the AD goes into its drying cycle, it can be shut off, which will cause the capstan rollers holding the record to retract.
[4] Vacuuming (in the housecleaning sense) along with a quality air filtration system also are steps in the right direction. I am pretty scrupulous about keeping the area around my turntable as clean and dust free as possible. Like many things in life, this is a seemingly endless task.
[5] The character, played by Michael McKean, seemed familiar to me. McKean portrayed one of the rock musicians in This is Spinal Tap, the classic mockumentary on the tribulations and decline of a hard rock/metal band. Unlike McKean’s character in Saul, I don’t wear aluminum foil blankets around the house. I did try a grounding mat near my turntable, but it did nothing. I solved a lot of my static problems years ago by playing records in bare feet—shoes and socks on carpeting create a charge.
[6] I know some folks use “canned air,” but the accelerant, which is actually a refrigerant, gives me pause. The bulb-type “puffer” does not raise any contamination issues as far as I tell.