SIDEBAR ON DIY ULTRASONIC LP CLEANING
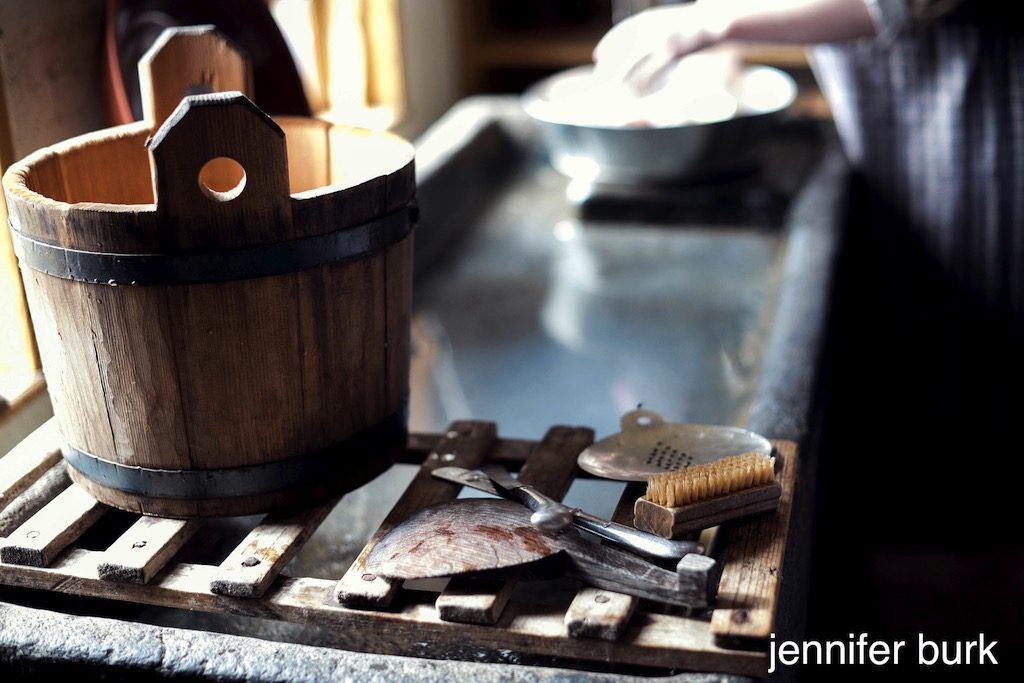
I’m delighted that a “pro” reviewer, Tim Aucremann, (better known as “Tima” in audio circles) agreed to address the topic of DIY ultrasonic LP cleaning in a new featured article on TheVinylPress.com.
For those of you with long memories, I had published an introduction to DIY ultrasonic cleaning some time ago, with the promise of a more in-depth look.
Although I had done a fair amount of research preparing to set up a DIY ultrasonic cleaning system here at TheVinylPress, the project was waylaid by our move to Austin. Tim’s piece not only hits all the buttons, but also does a great job of describing his learning curve, leaving room for yet more modification or substitution of components and ancillaries. That’s the nature of DIY- you can customize as need, budget or results dictate.
This “Sidebar” is less of a commentary on Tim’s very thorough and quite thoughtful article—a photo essay of an experienced audiophile’s journey through the process of assembling one such set-up—but instead, more a series of additional thoughts and questions.
But first, a little context: my interest in the subject was borne less out of cost savings and more out of trying to achieve the best of all worlds based on my experience with two of the leading commercial US machines designed for records (The Audio Desk and the KL) and the synergy in results I achieved by combining ultrasonic cleaning with more traditional vacuum type machines, particularly those of the “point nozzle” variety, like the Monks and Loricraft.
There is nothing “wrong” with either the Audio Desk or the KL: both have strengths and weaknesses in my view, and better results might be obtained by employing a DIY ultrasonic set up (in combination with a point nozzle vacuum machine) for reasons described below. I think you can still bring this in “under budget” if you are cost-conscious.
As to strengths and weaknesses: I buy mostly old pressings, some quite rare, and not all of them are particularly clean or well cared for; I’m not buying “market VG+ grade” either (“very good” in record grading often means the opposite; even” M-“ can mean different things to different people).
Once under light, you can see the detritus of use: fingerprints, grime and liquid spotting; worse is the stuff you can’t see.
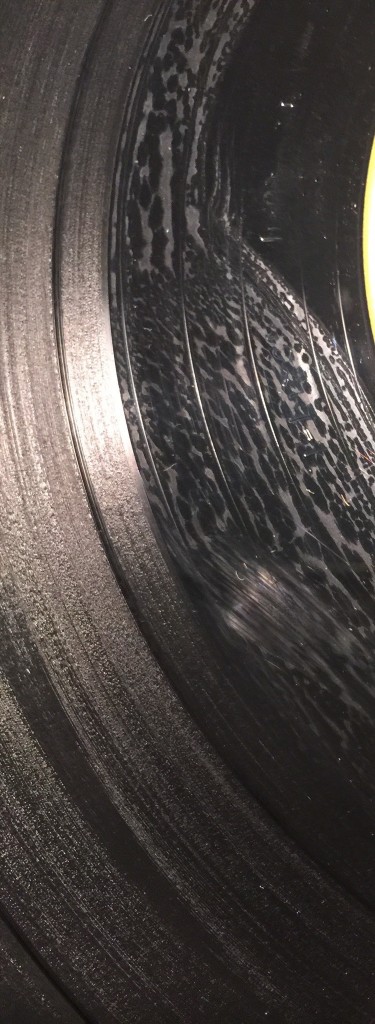
As found, before cleaning (by me)
Some of these old used records did not get fully cleaned– to a high state of play– by my use of an ultrasonic cleaning machine alone. These machines did a great job on new or pristine vinyl (often purchased and maintained with care by audiophiles). The stuff I’m talking about– late ‘60s or early ‘70s pressings from the UK or Europe- some of it proto-metal, psych-folk or just more obscure prog or rock– often had vestiges of previous, bad cleanings (obvious) and other hidden nasties that were only evident in playing, even after an ultrasonic cleaning cycle. These weren’t Goodwill/yard sale records either– just old, sometimes pricey or scarce pressings that haven’t been reissued or sound demonstrably better than the reissue if a clean player. So began my use of more traditional cleaning methods in combination with ultrasonic.
The AD uses a special fluid. I reduced the amount I used based on recommendations from early adopters, partly because I did not want to leave a dried residue of fluid on the record. (Remember, both the AD and KL rely on forced air-drying).
That eventually led me to the KL, which uses no additives but offers no filter for the bath water. (There is a newer KL model does make provision for a stand-alone bath vat and filtering/recirculation system).
Then, I stumbled onto some additional learning—a long time manufacturer of industrial ultrasonic cleaning systems—things the size of a factory production line—persuaded me that the use of some surfactant in the bath significantly enhanced the cavitation process and resulted in far more effective cleaning results. Granted, this manufacturer’s experience did not include cleaning records, but rather providing industrial quality, factory-sized equipment for manufacturers to clean metal parts and other objects.
But the principles of enhanced cavitation through the use of chemistry made sense. The trick- to me—was selecting the appropriate formula for the chemistry[1] and equally important, getting it off the record after the wash stage. Why? I heard no real sonic artifacts from using the AD, with its fluid, albeit in reduced amounts, but the idea of leaving a residue of some chemical, however mild, on the record was anathema to me. On principle, I wanted the records to be fully rinsed with pure water after the cleaning, not only for sonics but also for archival preservation. That involves another step; so nix convenience –one of the prime attractions of ultrasonic record cleaning machines. Plunk a record in the slot, perhaps push a button, and walk away. My approach took more effort and involved using a point nozzle vacuum RCM in combination with the ultrasonic.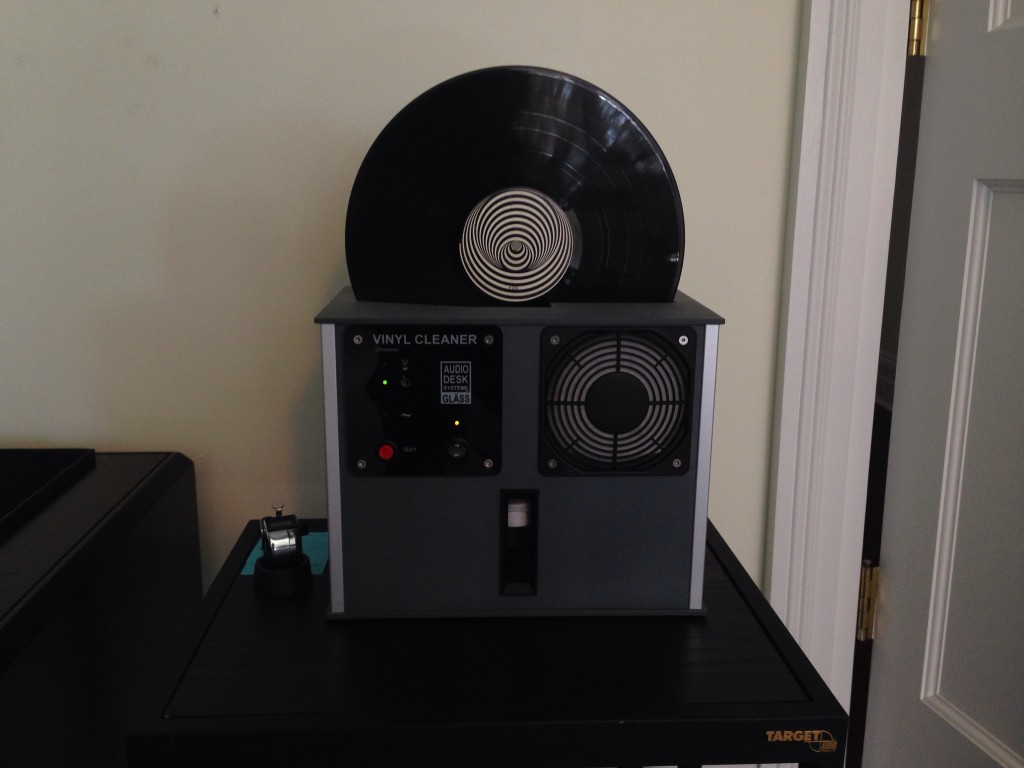
An earlier Audio Desk cleaning a Vertigo Swirl several years ago
The KL didn’t use any chemicals—just distilled (or higher grade) water. I’m not sure KL would condone the use of any chemicals in the bath water; even if you didn’t harm the machine, you may invalidate the warranty. In early discussions with Tim, the KL representative here in the States, he was adamant about not using any sort of alcohol in the machine. And for good reason—it could not only affect the plastics inside the KL but present a hazard- heat and alcohol don’t mix. (Some of the DIY’ers do use a very small amount of alcohol in their formula but I’m not convinced that it is the best solvent, though it evaporates quickly).[2]
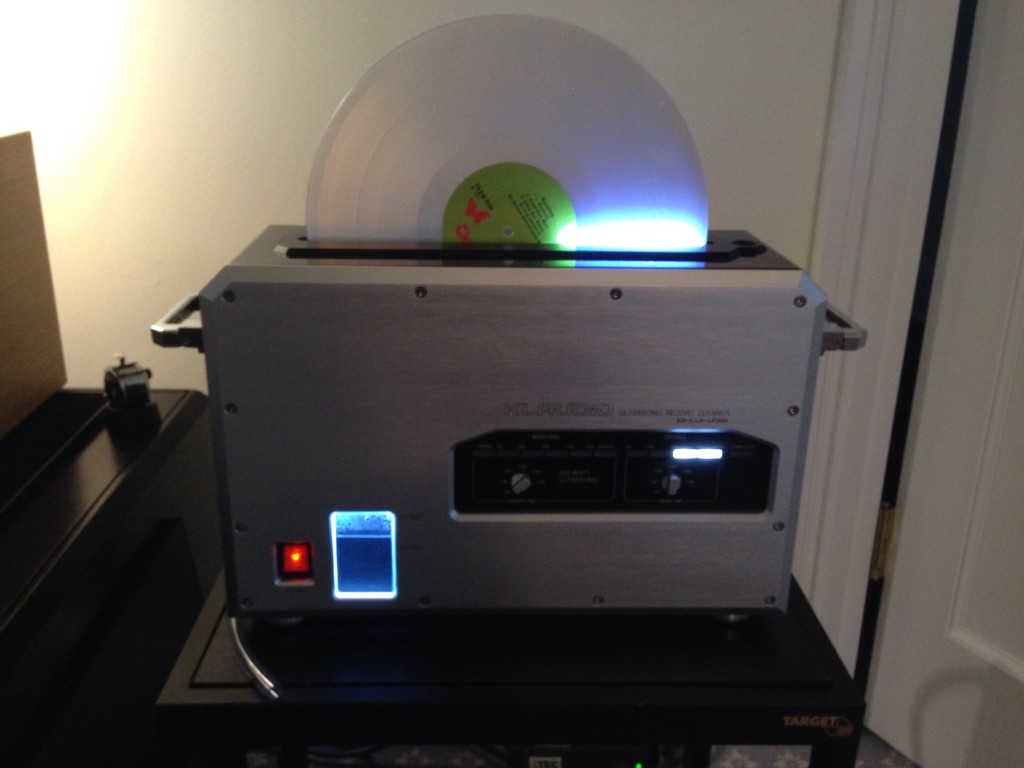
The KL cleaning a fresh 45 rpm Classic Records copy of Aqualung- part of an eight record set containing two complete copies of the album on different vinyl formulations
Both the AD and the KL rely on forced air-drying. Which typically gets the record dry, but doesn’t eliminate the concern I have about residue, chemical or otherwise. In addition, experience (and a lot of record cleaning) proved to me that vacuum drying an ultrasonically washed record was more effective than air drying for obvious reasons—you are lifting the contaminants and fluid or water mix from the surface rather than forcing it off the record by a strong air flow. And, you get another shot at removing that contaminant/fluid slurry by a “pure water” rinse step in combination with vacuum after the ultrasonic cleaning has taken place. This not only does the drying, but in my view, provides a more effective way to remove any remaining contaminants from the record after the ultrasonic wash.
Most folks critical of using a vacuum machine in combination with ultrasonic are concerned with contamination and static, and question whether it is a step backwards. The point nozzle machines add no static and are more effective in my estimation than the wand type cleaners in removing the contaminated fluid; if one uses two mats (one for the wet side; the other for the dry side), there is almost zero potential for contamination. The nature of the vacuum head also helps assure this: a tiny vacuum point occupied by a continuous feed of thread; this thread maintains a suction “gap” and keeps the point of actual contact with the record surface –the thread itself–clean as fresh thread is continuously fed into the vacuum nozzle and the “used” thread is drawn through a tube, along with the waste fluid, into a waste jar.
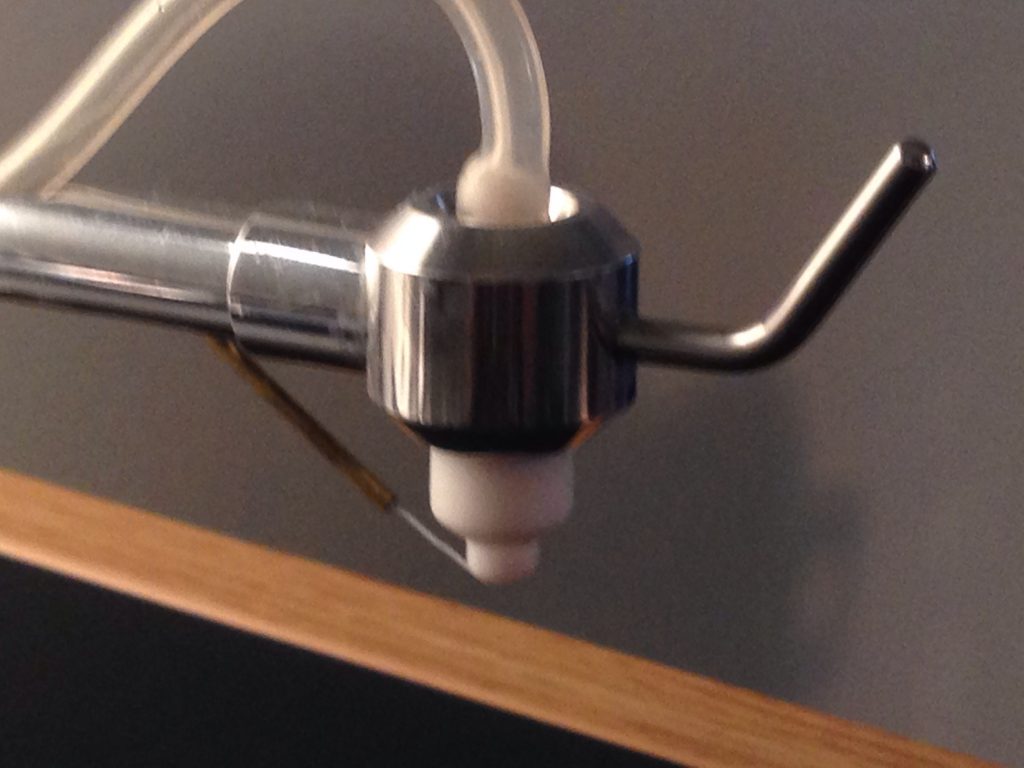
The business end of the Monks showing the thread, point nozzle and waste tube
Neither the AD nor the KL make provision for removing the record after wash, but before forced air-drying. On later models, the KL seemed to contemplate a “wash only” cycle by enabling you to “zero out” the drying step completely. But, I was warned by Tim at KL (not Tima, the author of the accompanying article) that removing a wet record from the machine risks wetting the internal electronics and could damage the machine.
So, I try to avoid doing that with the KL, though I experimented with it before talking with KL—thinking that the machine was designed for “wash only” use given the control arrangement permitting one to shut off the dryer altogether. Robert Stein, at Ultra Systems, the U.S. distributor of the AD, did tell me that one could shut down the machine before the drying cycle begins, but it isn’t really part of the design. And both of these machines are real money, which is why I think the DIY ultrasonic brigade got some traction. (My recollection is that this had been a fringe group of DiY’ers and people, often of a technical bent, looking for a better, easier way to clean records long before the commercial machines came to market in audio-land.)
For challenged records, this combination of ultrasonic wash and point nozzle vacuum dry made a real difference, especially where I first (pre-)cleaned the record using a strong fluid like AIVS # 15, followed by a rinse step, then into the ultrasonic for a wash, and point nozzle drying with an additional rinse. Wispy sibilants, tracing distortion on the inner grooves and in some cases, outright distortion that sounded like permanent groove damage, were largely eliminated on many, if not all, records. (Some were simply damaged used records that no amount of cleaning would resuscitate).
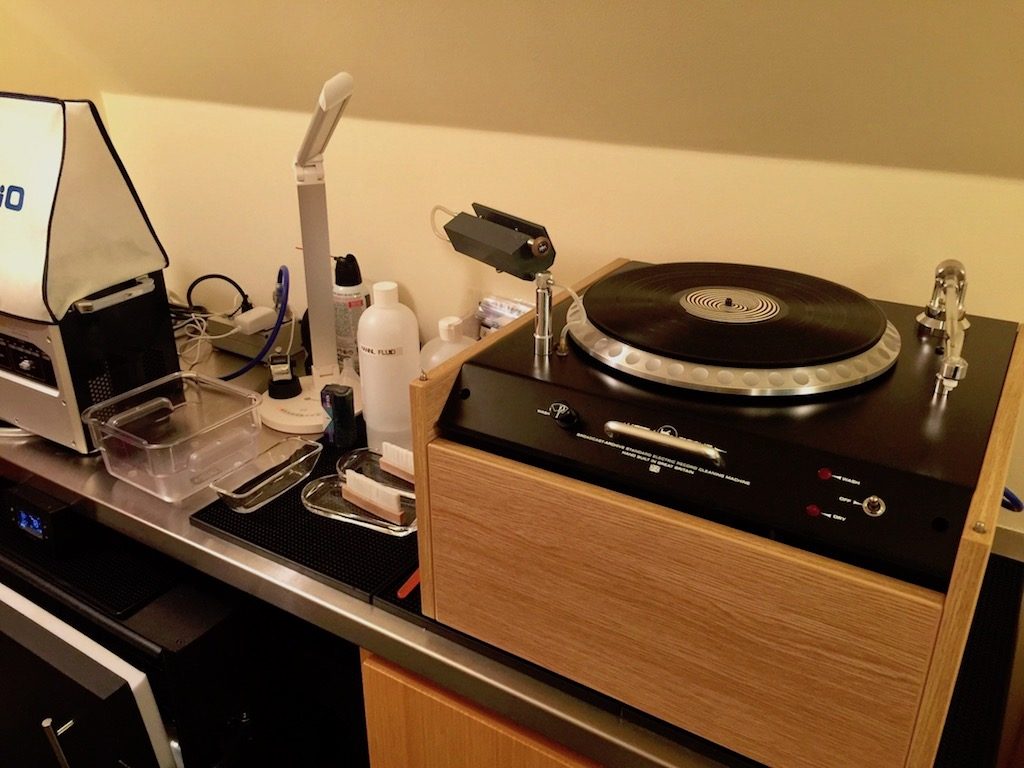
My cleaning set-up in Austin
At this point, you may throw up your hands and say—too much work. But, I don’t do this on every record, and those that I buy—some quite costly old, rare or obscure pressings- are worth the extra time and effort. To me, simply letting the record air dry au naturel does nothing to remove any contaminants that may remain on the record and potentially exposes them to more dust in the room. Is a “clean room” next?
Tima, whose views I trust, has found that by using a very mild home brew surfactant, highly diluted, he doesn’t need to do a rinse step or even bother with his Loricraft. That should be good news for those that simply want to forgo all the steps I sometimes take.
So, the value of a DIY ultrasonic cleaning set up not only offers the possibility of getting into this type of cleaning on a budget, but also offers more flexibility in:
- The use of surfactants and the control of heat;
- The ability to remove the record after a wash only, enabling a point nozzle drying step if you choose;
- Setting up a water recycling and filtration system;
All on a budget that you can control.
A few more observations:
Bulk cleaning
Though one might be tempted to wash 6 or 8 records at a time, there is a relationship between the size of the bath, the power of the ultrasonic transducers and the surface area to be cleaned. bbftx, the originator of the mother of all threads on the subject on diyAudio, made the following helpful observations about the relationship between tank size and record surfaces.
For loading, the rule of thumb often quoted by ultrasonic cleaning manufacturers is:
“The total surface area of the substrates, measured in square inches, should not be much greater than the tank volume, measured in cubic inches. In other words, the total surface area should not be greater than 230 sq. in. per gallon of tank capacity.”
If we exclude the label area of an LP, one side of a record is about 100 sq inches. (sure, go ahead and check my math )
So both LP sides together equals about 200 sq inches. Roughly a third of the area is submerged at any given moment in the URC, i.e. 66. sq. inches.
If you’re using a 1.5 gallon, or 6 quart, or 6 liter cleaner, filled with about 5 quarts of fluid, the rule of thumb says that you shouldn’t try to clean more than 290 square inches of surface at any one time (230 sq.in. per gallon x 1.25 gallons of fluid).
That would mean no more than 4 LPs at a time. (290 sq in. / 66 sq.in. per LP). So, if you’re trying to clean 8 or 9 or 10 closely spaced LPs in your 1.5 gallon URC, you’re overloading the machine.
For spacing, 4 is pushing it, 3 seems better to me. That gives me about 1.25 to 1.5 inches between records, given the usable width of my tank. You might find guidelines that suggest closer spacing is allowable for objects in your tank. While putting several pieces of jewelry close together in a basket may work, remember that by putting relatively large LPs in the tank, we are essentially creating large baffles, running almost the full vertical dimension of the tank. These “baffles” (the LPs themselves) attenuate the cleaning action between the records. See post #44 at: http://www.diyaudio.com/forums/analogue-source/218276-version-ultrasonic-record-cleaner-5.html

Tima is using a larger tank and has found a balance between tank capacity, transducer power and the number of records he can clean simultaneously. One of the obvious benefits of the Kuzma RD is that it enables pretty sizeable skewers of records (if you have a large enough tank with enough transducers) without necessarily compromising cleaning effectiveness.

Tima’s set up, described in detail in the accompanying article
Which ultrasonic machine?
I had decided on an Elma, partly because of quality and because of features, some of which might be found on less expensive machines- variable frequencies, degassing,[3] and temperature controls. The smaller, higher frequency bubbles may be better at getting into the narrow grooves, but the cavitation strength isn’t as powerful as a lower frequency machine. The ability to alternate frequencies is a plus. As is controlling heat. The bath water temperature will rise simply through normal operation of the device, but having a method to control heat presents another benefit. The bench top Elma machines of the type you’d use for record cleaning don’t, as far as I know, offer any bath recirculation and filtering of the type Tima implemented. You’d have to work that one out on your own, but Tima, Rush Paul and a whole raft of folks on the diyAudio forum have figured out how to do this on other machines. (If anyone has modified an Elma to do so, please write or comment).
In terms of reliability, one thing I learned, talking to a US rep for Elma, is that the transducers are not field replaceable on the benchtop machines—for the large factory line sized set-ups, a tech can come, but transducers eventually burn out. Alot of the bitching about commercial ultrasonic machines designed for LPs that eventually stop working after spending a princely sum should be put to rest[4]– these parts do not last forever, even in industrial/medical grade applications. That could lead you in two opposing directions- buy a high grade industrial/medical device or a cheap, readily replaceable one. I have no information on the suppliers of the transducers in these machines. (That might be a worthwhile question to pursue in the course of shopping for an ultrasonic bath). Of course, if the commercial audio ultrasonic manufacturer/distributors offer a reasonable repair or upgrade option, you are covered about as well as one can reasonably expect given the technology in play here.
There are a number of alternatives to the Elma at lower cost, including the machine Tima sourced, a Vibrato brand ultrasonic that has won a following in the DIY record cleaning community and a host of others. I’d probably be remiss if I didn’t mention David Ratcliff’s V-8, a commercial offering that started as a DIY project that has been refined in sophistication and features and has now been on the market for a number of years. That product is essentially turn key.
What about the record rotisserie?
I get no money or perquisites for saying positive things about Kuzma- I have owned two of his tables and have been running his Airline arm for more than ten years. His sense of design, quality of engineering, and product support are all first tier—and despite some of the snark I hear in that jungle of audio biz gossip and nastiness, I have never heard anything negative about Franc Kuzma, his products or his reputation. His products aren’t cheap, but my experience with them has led me to believe that they are often “end of destination” products for many people. The products are built to last, and Franc supports them. (Having Scot Markwell as the US rep for Kuzma doesn’t hurt either- Scot knows more than a little about record players and associated gear).
That said, if you are truly in the spirit of keeping the cost down, the other alternative is the Vinyl Stack, which I gather is also a reliable, less expensive way to spin the records in the bath and adjusts to accommodate different ultrasonic machines.
You could also make a rotisserie, if you are a true DIY’er. Some of the folks on the diyAudio thread have done just that.
The Role of Vacuum Cleaning in an Ultrasonic Age
Do you need to buy a point nozzle machine? Probably not; there are folks who use wand type vacuums as part of their regimen, often as part of the pre-cleaning step before ultrasonic, and in some cases after. There are some best practices outlined in an earlier piece that can help minimize contamination, including keeping the vacuum wands and applicators scrupulously clean during use and afterwards; using separate wand/armatures for cleaning fluid and rinse steps. But, the point nozzles pretty much eliminate these concerns; Loricraft does have factory “deals” and you can also find both the Loricraft and the Monks on the used market, often at a considerable discount. So, theoretically, going all out, you could be into ultrasonic and point nozzle cleaning for less than the cost of a commercial ultrasonic LP machine. Or, if you still have a VPI, Okki Nokki or similar machine, don’t get rid of it but see how you can use it effectively in combination with ultrasonic. At a minimum, you may still need it as a pre-cleaner. (I didn’t ask Tima if he got rid of his Loricraft; it may just be gathering dust as he continues to experiment with ultrasonic). The DIY ultrasonic approach offers a modest cost of entry and you may have some fun working on a project that doesn’t require extraordinary skill. (My biggest caution would probably be the selection of chemicals). Some of the cheaper machines will offer feature sets that are close to the Elma at a fraction of the cost, as Tima points out in his article.
Θ
Some thanks are in order:
To the diyAudio community, bbftx in particular and to all the contributors on that monster thread. Lot’s of information there if you want to wade through it;
To Rush Paul, who wrote what I consider to be a seminal piece, putting into one, easily digestible article, much of the learning from the diyAudio thread and applying it in practical, easy to follow steps.
To Rob, an audiophile who is always on the quest, with an inquisitive mindset, and a knack for knowing the important stuff without spending stupid money. He and I have exchanged thoughts over the years on the subject of combining ultrasonic and point nozzle cleaning, among other things.
And ultimately, to Tim Aucremann a/k/a “Tima,” for spending the time to assimilate the considerable body of information on ultrasonic record cleaning and taking the time to document his findings in a clear, concise way.
Bill Hart
Austin TX
September, 2017
__________________________________________________________________________________________________
[1] The chemistry here is key. Obviously, we want something that is safe for plastics and appropriate to use in an ultrasonic machine. The other factor is how readily the fluid is removed or flushed from the record once the cleaning is done. Rush Paul, in his article mentioned by Tima, adopted a formula based on some recommendations from a chemist. Tima has used a formula that is a more general-purpose record cleaner. There are also “off the shelf” products designed for ultrasonic cleaning that are supposed to be safe for plastics, including Versa, Crest and Cole-Parmer products. Before buying or using any of this stuff, I would speak with the companies about application and ease of removal and test it on a few low value records. I use Cole-Parmer Micro 90 to clean my lab glass – it is highly concentrated and requires only a 1:100 or 2:100 solution in warm water. I have not tried the Micro 90 in an ultrasonic machine yet, and won’t without further research.
[2] Those with Chem E backgrounds are free to weigh in.
[3] In short, degassing improves the cavitation process. Here is a short straightforward explanation. I’m sure you can find others.
[4] I am aware of the anecdotal reports on the earlier AD machines, which had some issues, apart from transducer failure. I gather that not only has AD gotten past that, but that their US distributor- Robert Stein at Ultra Systems- has become more involved in handling machine issues here in the States. My experience in dealing with Robert in the past was altogether positive.
Leave a Reply
You must be logged in to post a comment.